
How to Propagate Rubber Plant
Discover how to propagate rubber plant from cuttings in this guide. Learn step-by-step instructions, tips for success, and expert advice. Whether you're a seasoned gardener or new to plant propagation, our guide will help you create thriving rubber trees. Explore these tips by the experts at Rosies & Posies for a successful journey of growing new plants.
Easy Steps to Propagate Rubber Trees from Cuttings
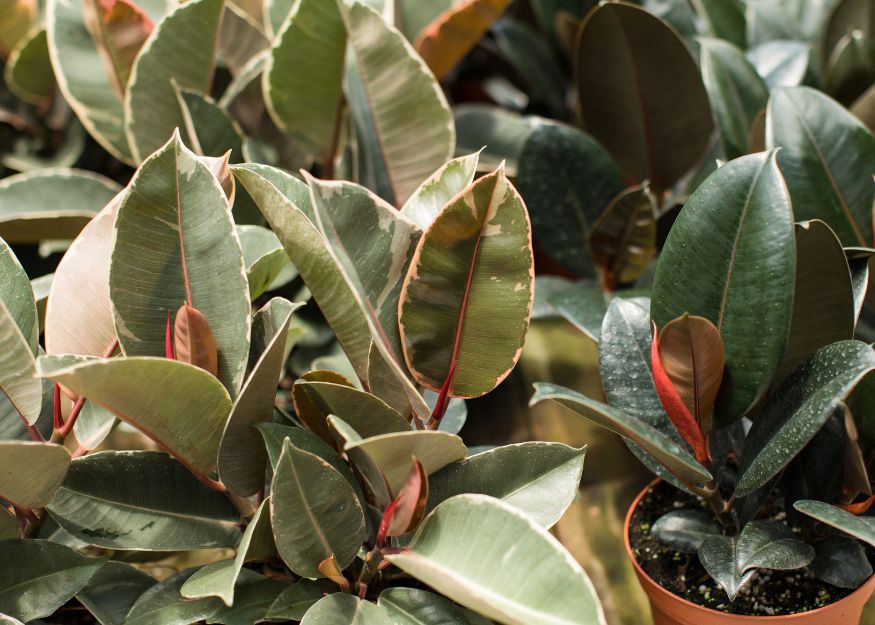
Here you will find the secrets on how to propagate rubber plant (Ficus elastica) with our guide. Hailing from the lush tropical regions of Southeast Asia, these versatile houseplants can be propagated from stem or leaf cuttings. Discover the simple tools and supplies you need, most of which you likely already have at home, to embark on this rewarding journey of growing new rubber trees.
Growing rubber trees can be a fascinating endeavor, especially when you master the art of propagation. Not only will you be able to create new plants, but you'll also witness your rubber tree flourish in its ideal environment. Whether you're an experienced gardener or just starting your plant journey, our step-by-step instructions will empower you to propagate rubber trees with confidence.
Step-by-Step Guide: How to Propagate Rubber Trees from Cuttings
Prepare a Clean Workspace:
Begin by setting up a dedicated workspace for propagating your rubber tree cuttings. Due to the latex-rich sap that oozes when stems are cut, ensure your work surface is protected. Wear protective gloves to avoid skin irritation caused by the sap. Gather all necessary tools and materials before starting.
Select the Right Cutting Spot:
Examine your rubber tree and identify areas that could benefit from pruning. Look for uneven growth or leggy branches that can be transformed into cuttings. Opt for healthy stems with blemish-free leaves. Take note of the leaf nodes along the stem, as these are crucial for root development.
Make Precise Cuts:
Using sharp pruning shears or scissors, make a clean cut directly above a node and an inch below another node. Swiftly cut to minimize sap oozing. If sap drips, gently pat the cut end with a paper towel to stop it.
Prepare the Cuttings:
Remove the lower leaves from each cutting, leaving one leaf at the top. This encourages rooting and redirects energy towards new growth. Roll the leaf into a cylinder, securing it with a rubber band. This technique helps retain moisture while planting.
Planting the Cuttings:

Fill a small plastic pot with a mixture of soilless potting mix and perlite. Apply rooting hormone to each cutting's end and place it in the pot, ensuring the top node is at the soil surface. Use a stake to support the cutting and secure it in place. Cover each pot with a zip-top plastic bag to create a humid environment.
Provide the Right Environment:
Place the potted cuttings in a warm, well-lit area with dappled sunlight. Avoid direct sun exposure to prevent leaf burn. Mist the cuttings with water as needed to maintain humidity. Keep the soil consistently moist but not soggy.
Monitor Root Development:
After around four to five weeks, your cuttings should begin to develop roots. Gently tug on a cutting to check for resistance, indicating root growth. At this point, you're on your way to successfully propagating your rubber tree!
Congratulations on embarking on the exciting journey of propagating rubber trees from cuttings! Remember, the process may require patience, but the reward of nurturing new plants is truly gratifying. If you have any questions or need assistance along the way, don't hesitate to reach out to us. At Rosies & Posies, we're here to support you on your plant-growing adventure. And if you're ready to bring a new rubber tree into your space, explore our selection, serving the Santa Clara county. Enjoy the convenience of our delivery service and watch your indoor jungle thrive!

