
How to Propagate Monstera?
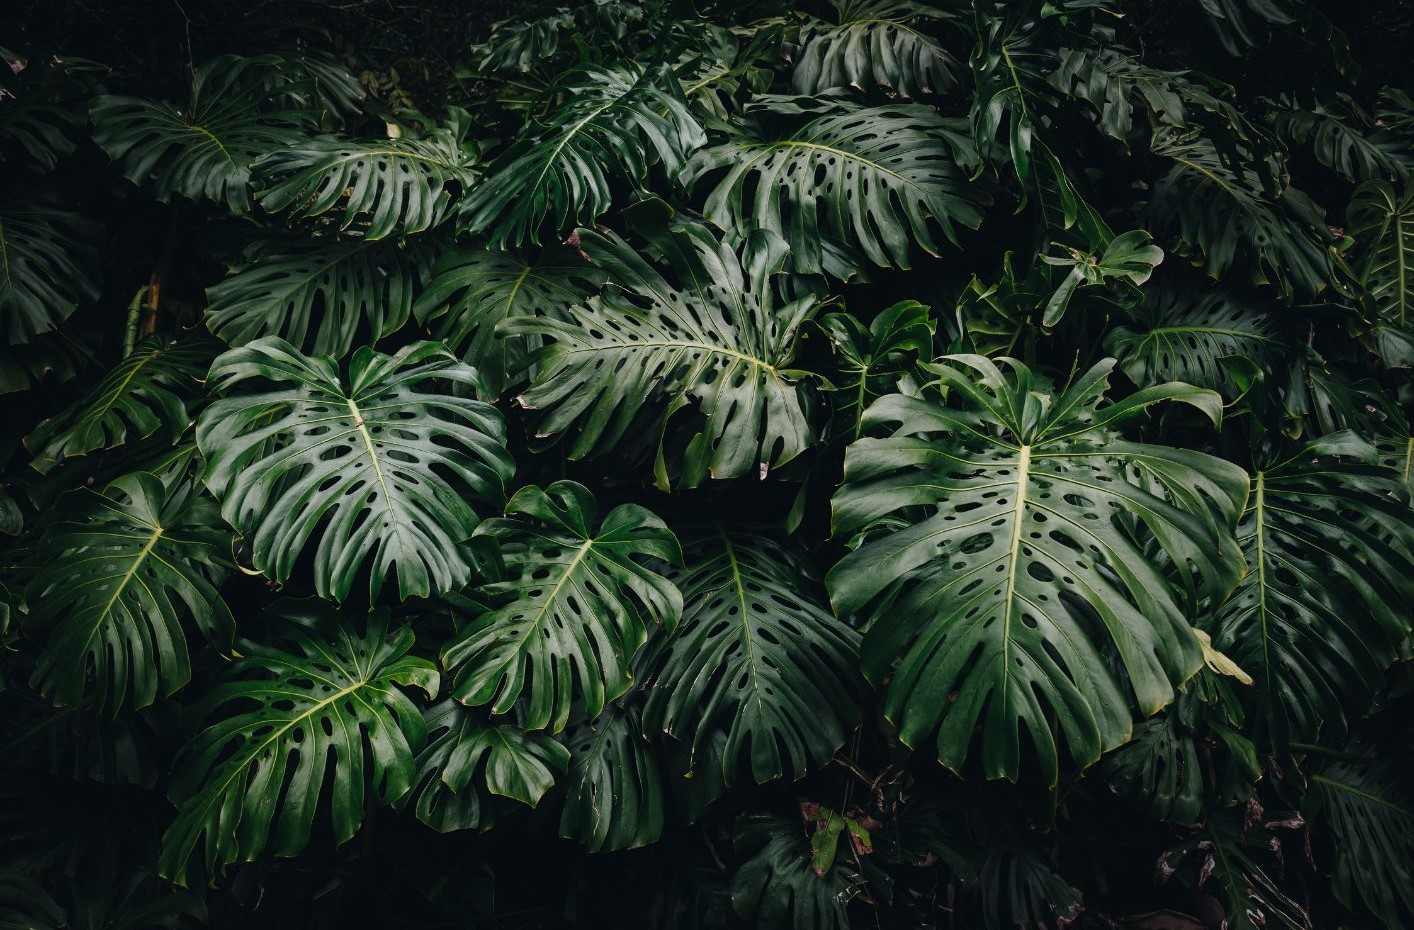
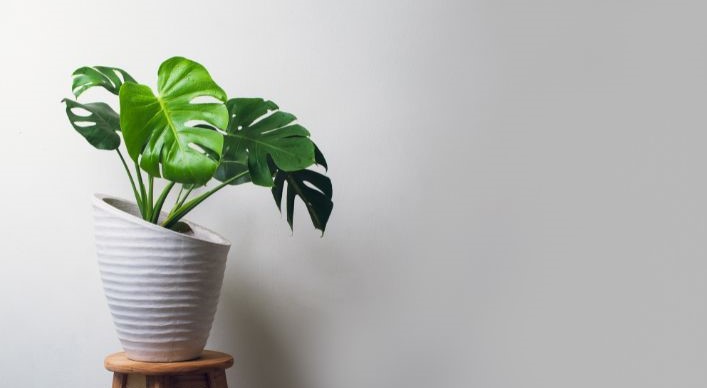
Monstera deliciosa, commonly known as monstera, is a popular houseplant that is known for its distinctive leaves with holes. Propagating monstera is a relatively easy process that can be done at home. Enjoy this article with us, your Santa Clara County florist, Rosies & Posies.
How to Propagate Monstera?
So, if you're thinking of multiplying your monstera plant crew, there are a few different ways you can make it happen. You've got options like taking cuttings, trying out air layering, going for separation, or giving seeds a shot. Which method you go for depends on factors like how big your monstera is, your personal preferences, and the resources you have on hand.
Before we start, it is important to say that this article provides tips that applies to most of the monsteras known. Remember, there are more than 50 species in this genus.
Let's start with the easiest route: taking cuttings. It's a piece of cake! Just grab a cutting from a mature plant with a node and a couple of leaves. Stick that cut in a well-draining potting mix and keep it moist. Be warned, though—it might take a few weeks or even months for those roots to sprout.
Now, if you're up for a challenge, air layering is the way to go. This one's a bit more advanced. You'll need to make a cut in the plant stem and wrap it up in some moist sphagnum moss. The moss works its magic and helps the cutting grow roots. Once it's rooted, you can separate it from the parent plant.
If your monstera has grown too big for its britches, separation might be your best bet. Just divide that giant into two or more smaller plants. Each plant gets its own pot and potting mix, and they're good to go.
Now, growing from seeds isn't the most common method, but hey, you can give it a shot if you're feeling adventurous. Keep in mind, monstera seeds can be a bit elusive, and they don't always have the highest germination rate. But if you strike gold, you'll have a brand new plant that's a clone of its parent.
Whatever method you choose, make sure to follow the propagation rulebook. Use a sharp knife for clean cuts, plant the cutting in well-draining soil, and keep it slightly moist without exposing it to direct sunlight.
Choosing the Right Cutting
The first step is to choose a healthy cutting from a mature monstera plant. The cutting should have at least one node, which is the point where a leaf or root grows from the stem. The cutting should also have at least two leaves. One leaf may not be able to provide the plant with enough energy to successfully propagate.
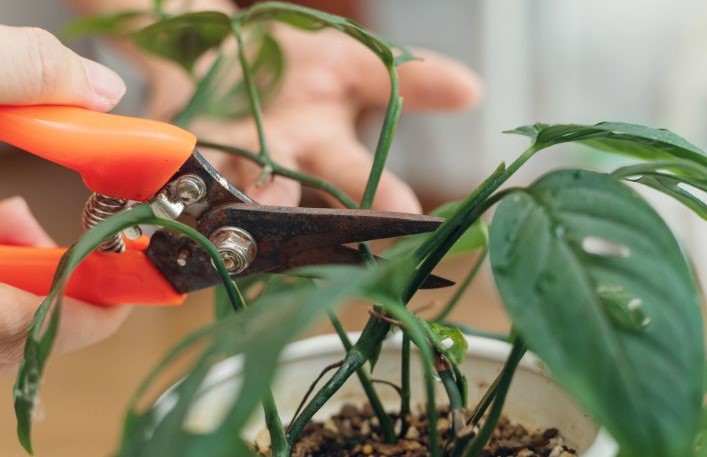
Preparing the Cutting
Once you have chosen a cutting, you will need to prepare it for propagation. Use a sharp knife or shears to cut the cutting just below a node. Make sure that the cut is clean and free of any jagged edges. This is essential, as an unsharp knife may damage the plant tissue and prevent it from rooting.
It is also important to use a disinfected knife. This will help to prevent the spread of diseases and pests. If you do not have a disinfected knife, you can clean it with rubbing alcohol.
By following these steps, you can increase your chances of successfully propagating your monstera cutting.
Planting the Cutting
Now it's time to stick that cutting into a pot filled with some well-draining potting mix. Make sure to give it a good watering, but don't go overboard and turn it into a swamp. We want it moist, not soggy.
Oh, and here's a cool alternative for you: you can try out the hydroponic propagation method. It's like giving yourself an extra shot at success. So if you're up for it, give it a go and see how it works out. You might just surprise yourself!
The Hydroponic Method to Propagate Monsteras
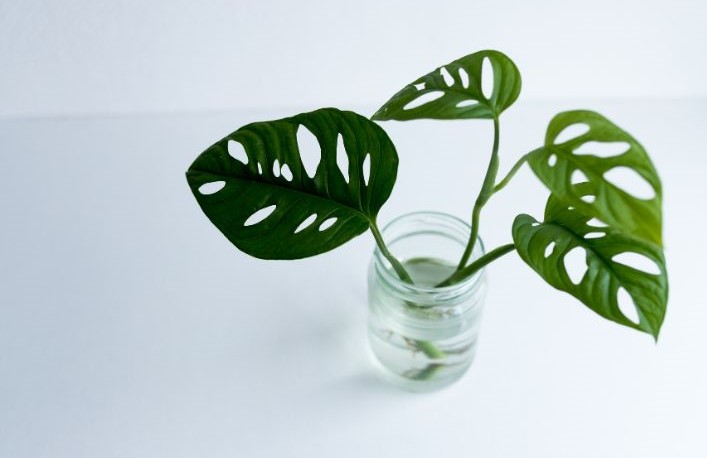
In hydroponics, instead of using soil, you'll be growing your plant in a water. This method allows for better control over the plant's environment. Here's a simplified version of how it works:
Step 1
Choose a container: Find a container that can hold water and support your cutting. It could be a glass jar, a plastic bottle, or any other suitable container.
Step 2
Submerge the cutting: Place your cutting in the container, making sure the bottom end is submerged. You can use something like a small net pot or even just let the cutting float in the solution.
Step 3
Provide light: Place the container in a well-lit area (avoid direct sun) or provide artificial light if needed. Light is crucial for the plant's photosynthesis and overall growth.
Step 4
Monitor and maintain: Regularly replace the water level in the container, you can do it once a week.
Step 5
Patience and observation: Over time, you should start to see roots forming on your cutting. Keep an eye on its progress, and once the roots are well-developed, you can transfer the cutting to a pot with a suitable growing medium or directly into your desired planting location.
Placing the Cutting
The cutting should be placed in a warm, bright location out of direct sunlight. The ideal temperature for propagating monstera is between 70 and 80 degrees Fahrenheit.
Caring for the Cutting
The cutting will need to be kept moist but not soggy. Water the cutting regularly, but allow the potting mix to dry out slightly between waterings. The cutting should also be misted with water occasionally to increase humidity.
Waiting for Roots
It can take several weeks or even months for the cutting to develop roots. Once the cutting has developed roots, it can be transplanted into a larger pot.
Enjoy Your New Monstera!
Once your monstera has rooted, you can enjoy watching it grow and thrive. Monsteras are relatively easy to care for, and they can make a beautiful addition to any home.
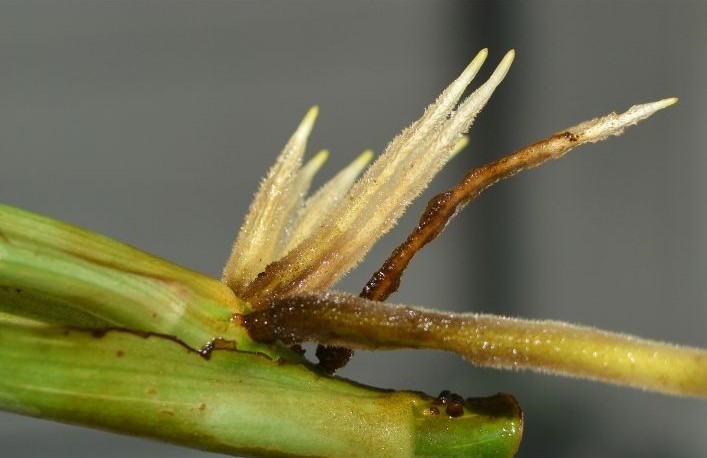
Aerial Roots
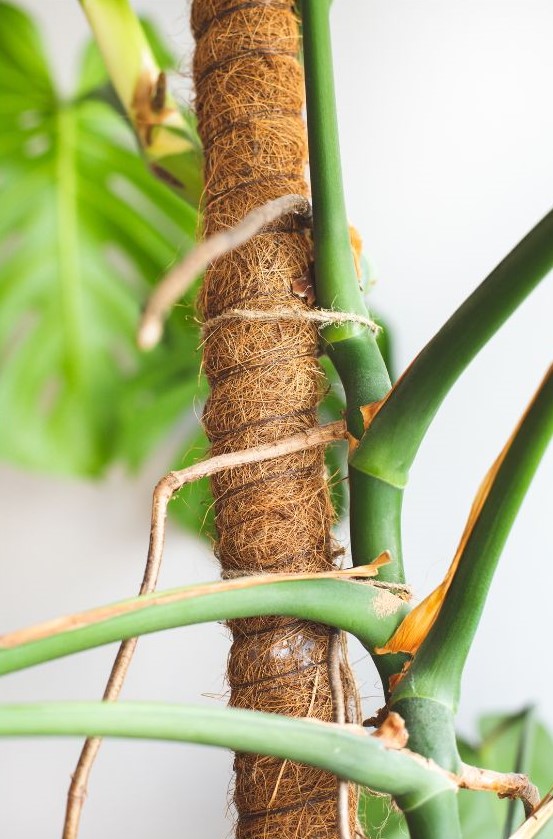
Aerial roots are awesome for propagating monstera plants! They grow near nodes, so if you include one in your stem cutting or air layering, your plant will have a head start on growing new roots.
If you have a really good aerial root on a stem with some healthy new leaves, air layering is a great method to try. It's less risky than other methods, so your chances of success are higher.
Here's a quick rundown of how air layering works:
Alright, if you're ready to give air layering a shot, here's what you'll need:
Now, when you're ready to plant your cuttings, dip them in this magical solution you just made. It's like giving them a little boost before they settle into their new home.
Step 1
Now, let's get into the action. Find a node or aerial root on your monstera plant, just below the leaf you want to propagate. It's like a little brown bump or growth on the opposite side of the leaf.
Step 2
Grab a sharp, clean knife or pruning shears and make a small cut near the node. This tiny injury actually works wonders because it tells the plant to focus on that spot and grow new roots! If you've got some liquid rooting hormone, dab a bit on the cut with a cotton ball to give those roots a head start.
Step 3
Once you've made the cut, grab your dampened (not soaked and dripping) sphagnum moss and wrap it around the cut, node, and stem. Then, loosely wrap the moss package in plastic wrap, leaving a bit of airflow. Use some string or twist ties to hold everything together.
Step 4
Here comes the fun part. Every few days, give the plastic wrap a little loosening and spritz the moss with water to keep it nice and damp.
After a couple of months, you should see some fresh new aerial roots popping up around the area. That's a good sign!
When those roots are about an inch or two long, remove the moss and plastic. Cut that section of stem and leaves off the plant (make sure to take your new roots along for the ride!), and plant it in a pot.
Voila! You've got yourself a brand-new monstera plant, my friend! Treat it with the same care you would give to a mature monstera. Enjoy the journey!
Are Monstera Toxic to Cats?

Well, here's the deal. The question of whether Monstera plants are toxic is a bit tricky, and there's no simple 'yes or no' answer.
According to the ASPCA, Monstera plants are listed as toxic. But hold on, it's not as scary as it sounds. You see, it's not really the toxic label that fits them perfectly. It's all because these plants contain these little troublemakers called calcium oxalate crystals. Let me break it down for you.
Those crystals can be a real pain, especially if someone (let's say, your curious cat) decides to take a bite. Trust me, they won't be having a great time. It's like a seriously unpleasant experience for their mouth and even their stomach. Ouch!
But here's the good news. While your furry friend might show signs of discomfort after munching on your Monstera, they should be fine overall. Unless they have an unusual swelling reaction, there's no need to panic. No toxins lurking around, slowly shutting down their body. Just a not-so-nice feeling in their tongue and throat area.
So, keep an eye on your pet and make sure they steer clear of taking a nibble. But don't worry too much. It's not a life-or-death situation.
If you are interested in buying a monstera or other houseplants, please visit our website or contact us today. We would be happy to help you find the perfect plant for your home.

